
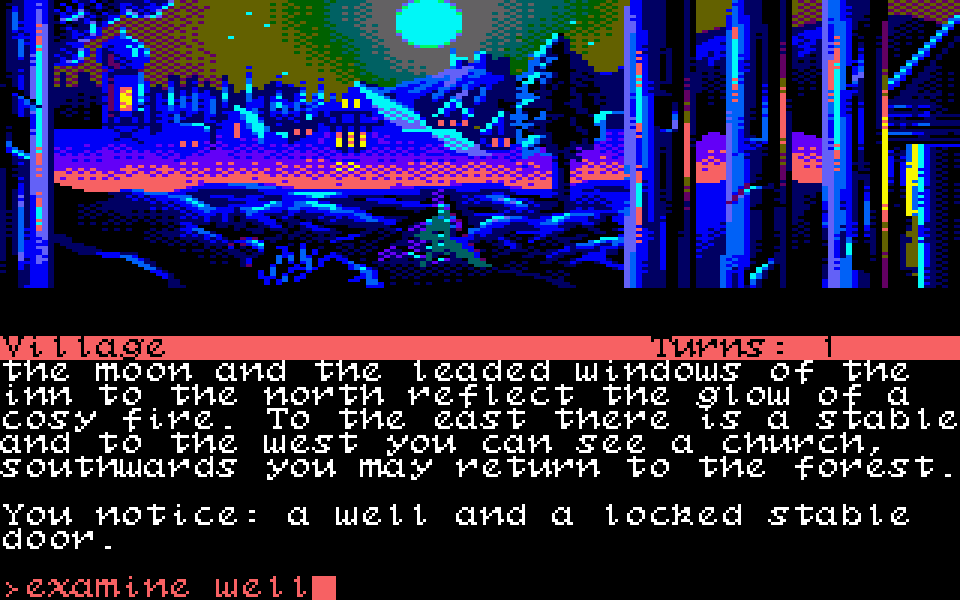
VTX5000: Part 5 - Rendering
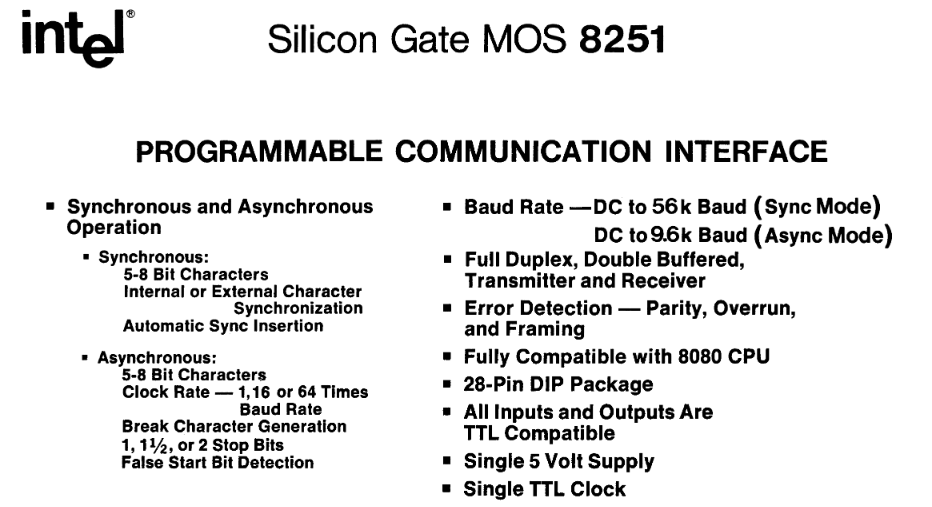
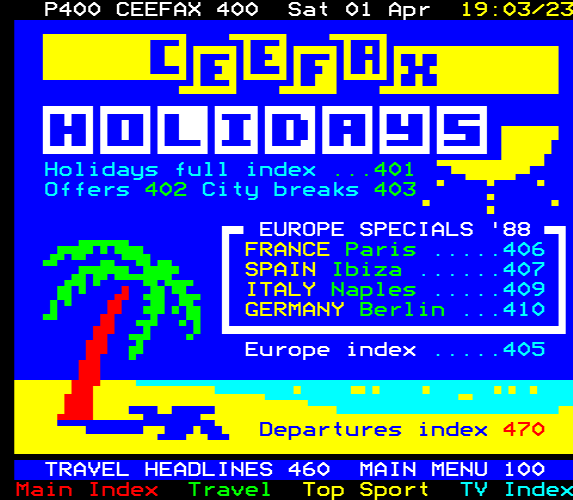
In part 4 we followed data to and from the TI modem through the Intel 8251 USART landing in our buffers. Now comes the interesting part - rendering those Viewdata 40×24 frames on what is typically a 32×24 display.
VTX5000: Part 4 - Communications
In part 3 we saw how the VTX5000's 8K ROM is structured and how the BASIC program drives the terminal.
VTX5000: Part 3 - Software ROM
In part 1 we covered the history of Prestel and Prism, and in part 2 we cracked open the VTX5000 to examine the hardware. Now how did they squeeze a viewdata terminal app into 8KB...
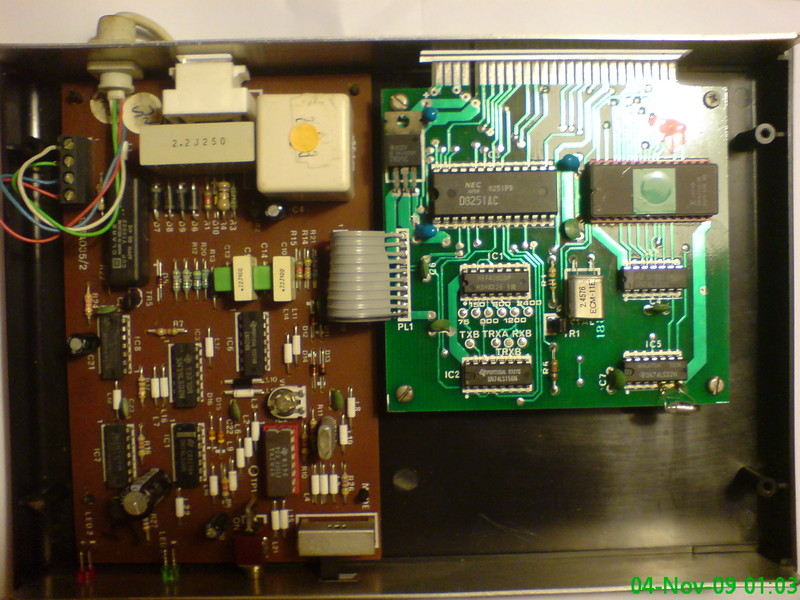
VTX5000: Part 2 - Hardware
With the design spec in hand, Prism Microproducts contracted O.E. Ltd - a UK electronics manufacturer - to implement and produce the VTX5000 as a self-contained Prestel terminal that sat beneath the rubber-keyed Speccy and plugged straight into the edge connector at the back meaning no extra hardware and no extra power supply.
VTX5000: Part 1 - Prism, Prestel and Teletext
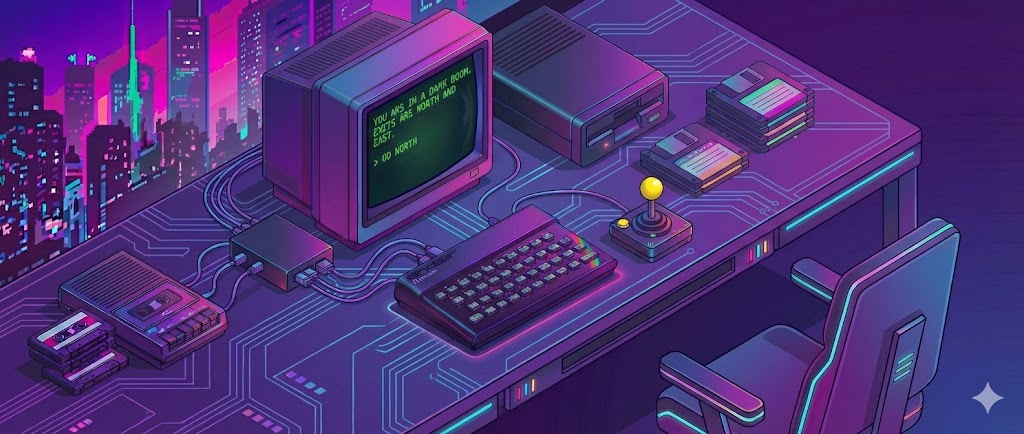
The Prism VTX5000 for the ZX Spectrum and the first modem I ever owned. With its bright colourful viewdata graphics and decent-download 1200/75 bps speed it ignited my life-long interest in data communications and online communities.

Sell to Guernsey - An Overlooked Opportunity for UK Sellers
If you're an online retailer in the UK you probably want to maximise your market but a lot of retailers don't realise their store is configured not to ship to the British Channel Islands (Guernsey and Jersey) or the Isle of Man as the defaults in some online store software, like Shopify, exclude them.

HTML5 Video Cheatsheet: Optimizing videos for the web
Creating videos for your page can be tricky, especially if you ensure your videos load quickly, play smoothly, auto start, and work across all devices and browsers.
The Art of Amiga lettering
A gallery of remarkable title-screen and demo-scene logos hand-plotted in Deluxe Paint, celebrating the typographic artistry of the Amiga era.

Advent of Fonts 2025
December 2025 sees the fifth year of my Advent of Fonts project where I published a 24-day advent calendar of 8x8 pixel on Mastodon.

Transactions in the MongoDB EF Core Provider
Database transactions ensure that multi-record (or in our case multi-document) operations either all succeed or all fail together.
Queryable Encryption with the MongoDB EF Core Provider
MongoDB's Queryable Encryption lets you encrypt sensitive database fields while keeping them searchable. Unlike traditional encryption-at-rest that renders data unreadable to the database, queryable encryption supports equality and range queries on encrypted fields without requiring decryption first.
Lazy Loading with EF Core Proxies
With the Microsoft.EntityFrameworkCore.Proxies NuGet package you can use to traverse navigation properties. This is often preferable to joins and includes such as when using one-to-many or only exploring a subset of the navigations based on client-side logic or for providers that don't support include yet.
Enhancing content articles in Nuxt3
I've already covered reading time and generated excerpts for Nuxt3 content but there are still a couple more things you can do to enhance your content articles.
Advent of Fonts 2024
December 2024 sees the fourth year of my Advent of Fonts project where I published a 24-day advent calendar of 8x8 pixel on Mastodon.
Generated Excerpts for Nuxt3 Content
Nuxt3 has been my stack of choice for a while now and it was time to port my site over from Nuxt2 - an exercise in itself I should blog about - but more concretely is the idea of excerpts.
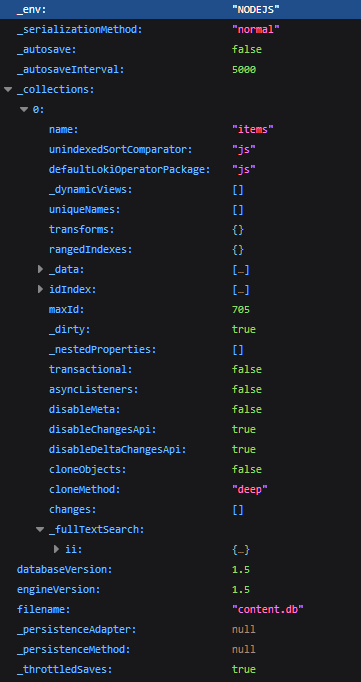
Nuxt Content v1 content.db database & file size
An examination of Nuxt's content.db and how to shrink it for performance.
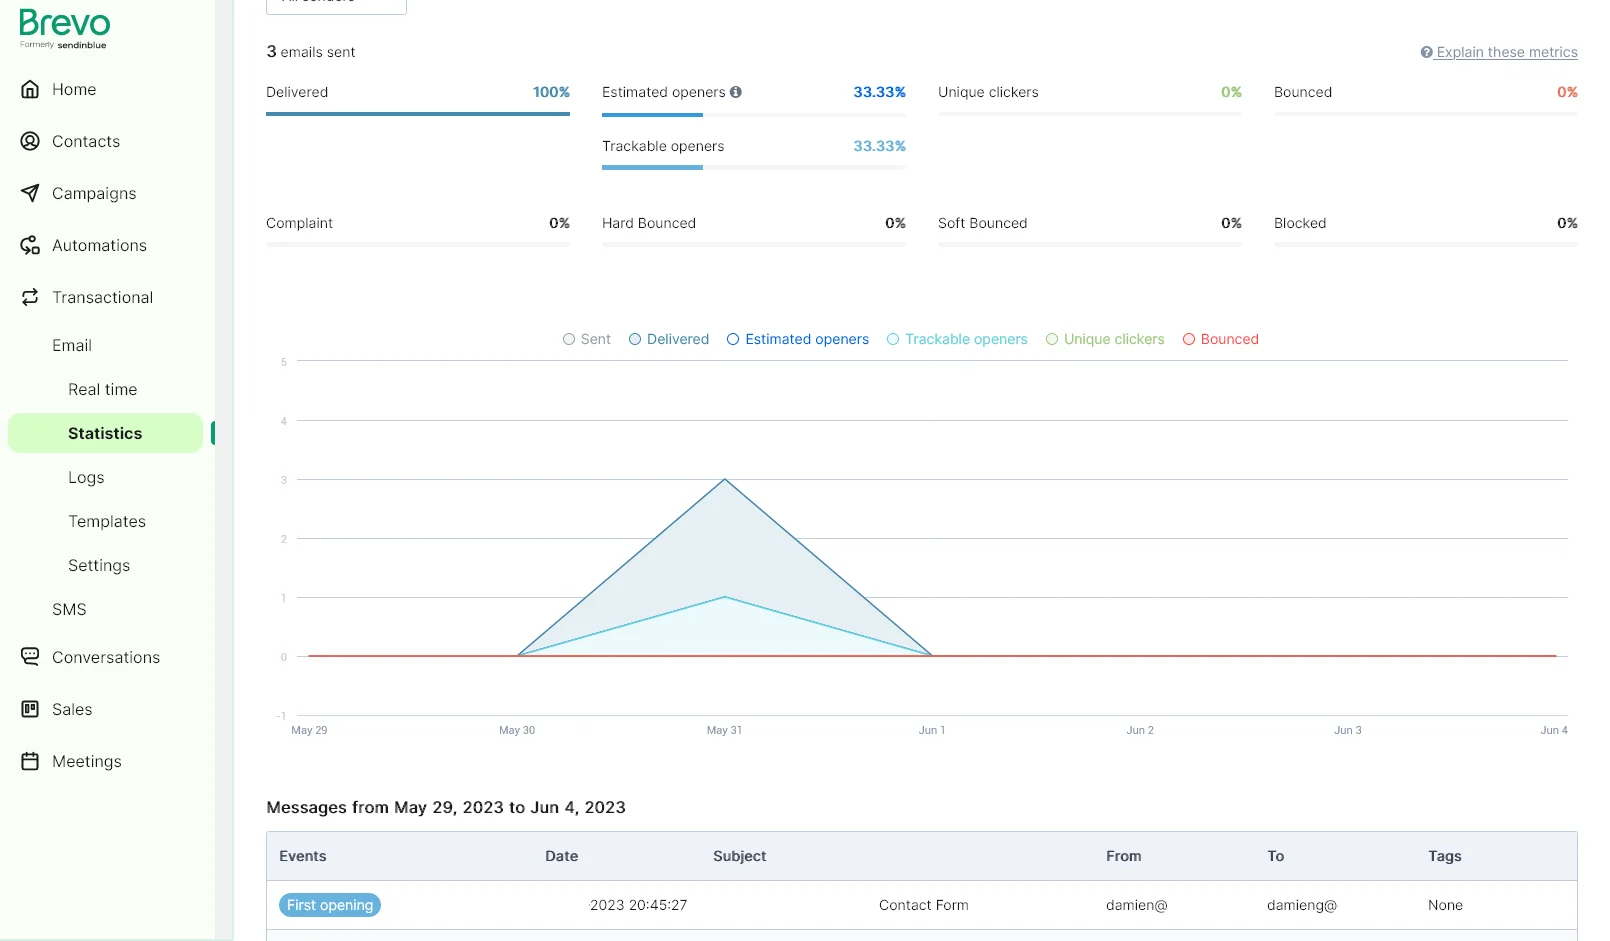
Email form sender with AWS Lambda, Brevo & reCAPTCHA
In this article I'll show you how to use AWS Lambda to send an email with Brevo using their API while being protected by reCAPTCHA.
Advent of Fonts 2023
December 2023 saw the third year of my Advent of Fonts project where I published a 24-day advent calendar of 8x8 pixel on Mastodon.
A blog comment receiver for Cloudflare Workers
A number of years back I switched to a static site generator for damieng.com, firstly with Jekyll, and then with Nuxt when I wanted more flexibility. I've been happy with the results and the site is now faster, cheaper, more secure and easier for me to maintain.
Email form sender with Nuxt3, Cloudflare, Brevo & reCAPTCHA
I've been using Nuxt quite extensively on the static sites I work on and host and use Cloudflare Pages to host them. It's a great combination of power, flexibility, performance and cost (free).
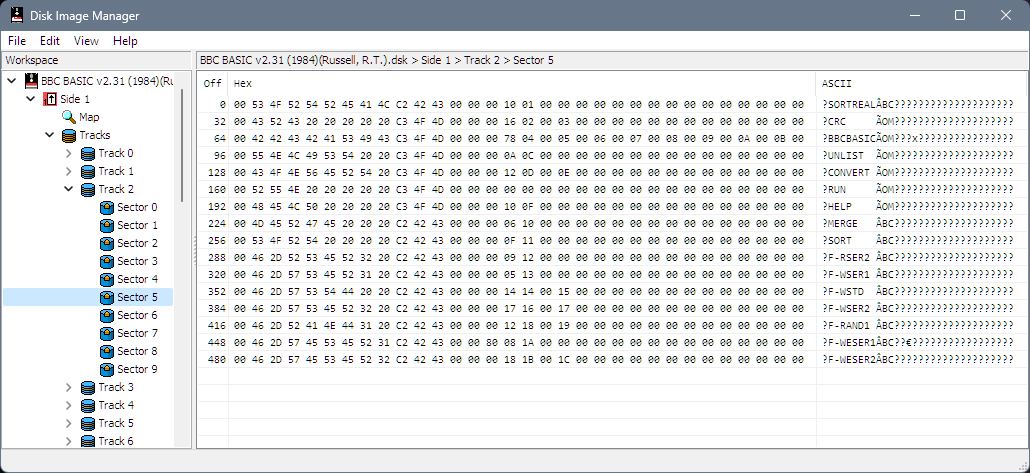
Extracting files from Tatung Einstein disk images
Kevin Edwards got hold of some 3" disks containing source code to various old commercial games and once they were imaged with a high quality process (a Kryoflux) it was time to write some tooling to get the files out of the corresponding DSK file.
Rendering content with Nuxt3
I've been a big fan of Nuxt2 and Nuxt3 is definitely a learning curve and I have to admit the documentation is a bit lacking - lots of small fragments and many different ways to do things.
A quick primer on floppy disks
I've always been fascinated by floppy disks from the crazy stories of Steve Wozniak designing the Disk II controller using a handful of logic chips and carefully-timed software to the amazing tricks to create - and break - copy protection recently popularised by 4am.
Adding reading time to Nuxt3 content
I've been using Nuxt2 quite a bit for my sites (including this one) and am now starting to use Nuxt3 for a few new ones and am finding the docs lacking in many places or confusing in others so hope to post a few more tips in the coming weeks.
Advent of Fonts 2022
Through December 2022 I again produced a 24-day advent calendar of 8x8 pixel fonts this time primarily on Mastodon.

Advent of Fonts 2021
In December 2021 I tweeted a 24-day calendar of 8x8 pixel fonts.
Software
Writing creating computer software is my passion in life and I've been lucky to work on some incredible projects and technologies over the years.
Estimating JSON size
I've been working on a system that heavily uses message queuing (RabbitMQ via MassTransit specifically) and occasionally the system needs to deal with large object graphs that need to be processed different - either broken into smaller pieces of work or serialized to an external source and a pointer put into the message instead.
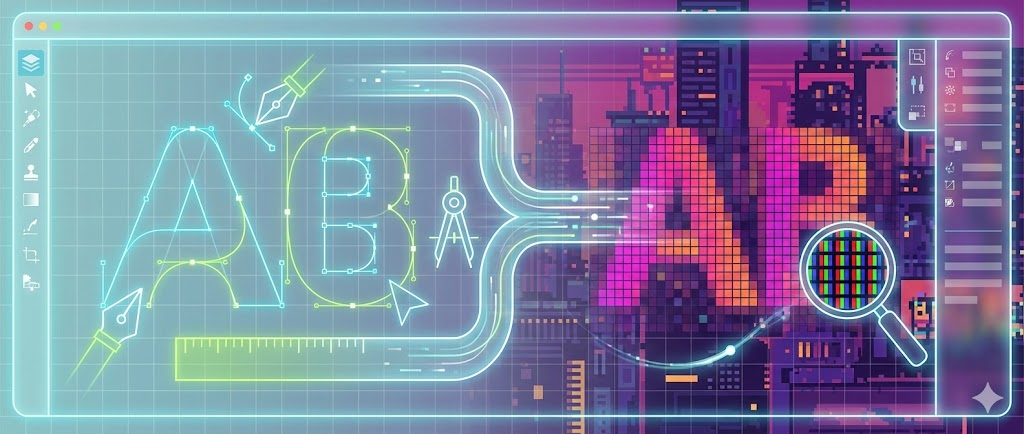
Using variable web fonts for perf
Webfonts are now ubiquitous across the web to the point where most of the big players even have their own typefaces and the web looks a lot better for it.
Migrating from OpenTracing.NET to OpenTelemetry.NET
OpenTracing is an interesting project that allows for the collection of various trace sources to be correlated together to provide a timeline of activity that can span services for reporting in a central system. They were competing with OpenCenus but have now merged to form OpenTelemetry.
Developing a great SDK: Guidelines & Principles
A good SDK builds on the fundamentals of good software engineering but SDKs have additional requirements to consider.

Privacy Policy
This privacy notice for Damien Guard ('we', 'us', or 'our'), describes how and why we might collect, store, use, and/or share ('process') your information when you use our services ('Services'), such as when you:
Shipping breaking changes
Breaking changes are always work for your users. Work you are forcing them to do when they upgrade to your new version. They took a dependency on your library or software because it saved them time but now it's costing them time.
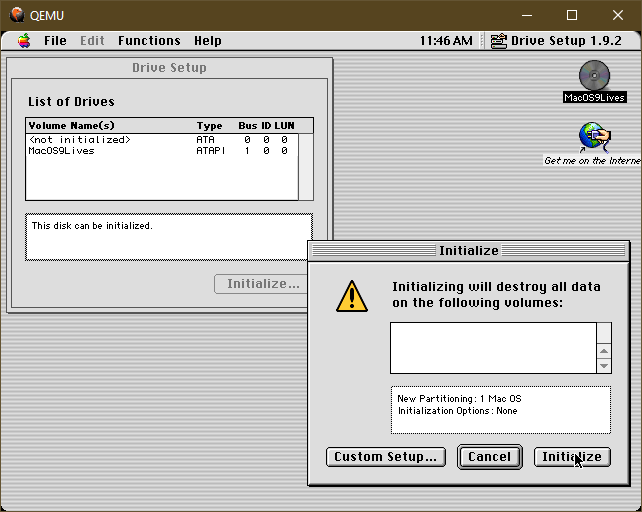
Mac OS System 9 on Windows
I'm often digging into old bitmap font and UX design out of curiosity - and someday hope to revive a lot of these fonts in more modern formats using a pipeline similar to that for ZX Origins so we can get all the usable fonts, screenshots etc. out of them.
Creating OR expressions in LINQ
As everybody who has read my blog before knows, I love LINQ and miss it when coding in other languages, so it's nice when I get a chance to use it again. When I come back to it with fresh eyes, I notice some things aren't as easy as they should be - and this time is no exception.
From CircleCI to GitHub Actions for Jekyll publishing
I've been a big fan of static site generation since I switched from WordPress to Jekyll back in 2018. I'm also a big fan of learning new technologies as they come along, and now GitHub Actions are out in the wild; I thought this would be an opportunity to see how I can port my existing custom CircleCI build to Jekyll.
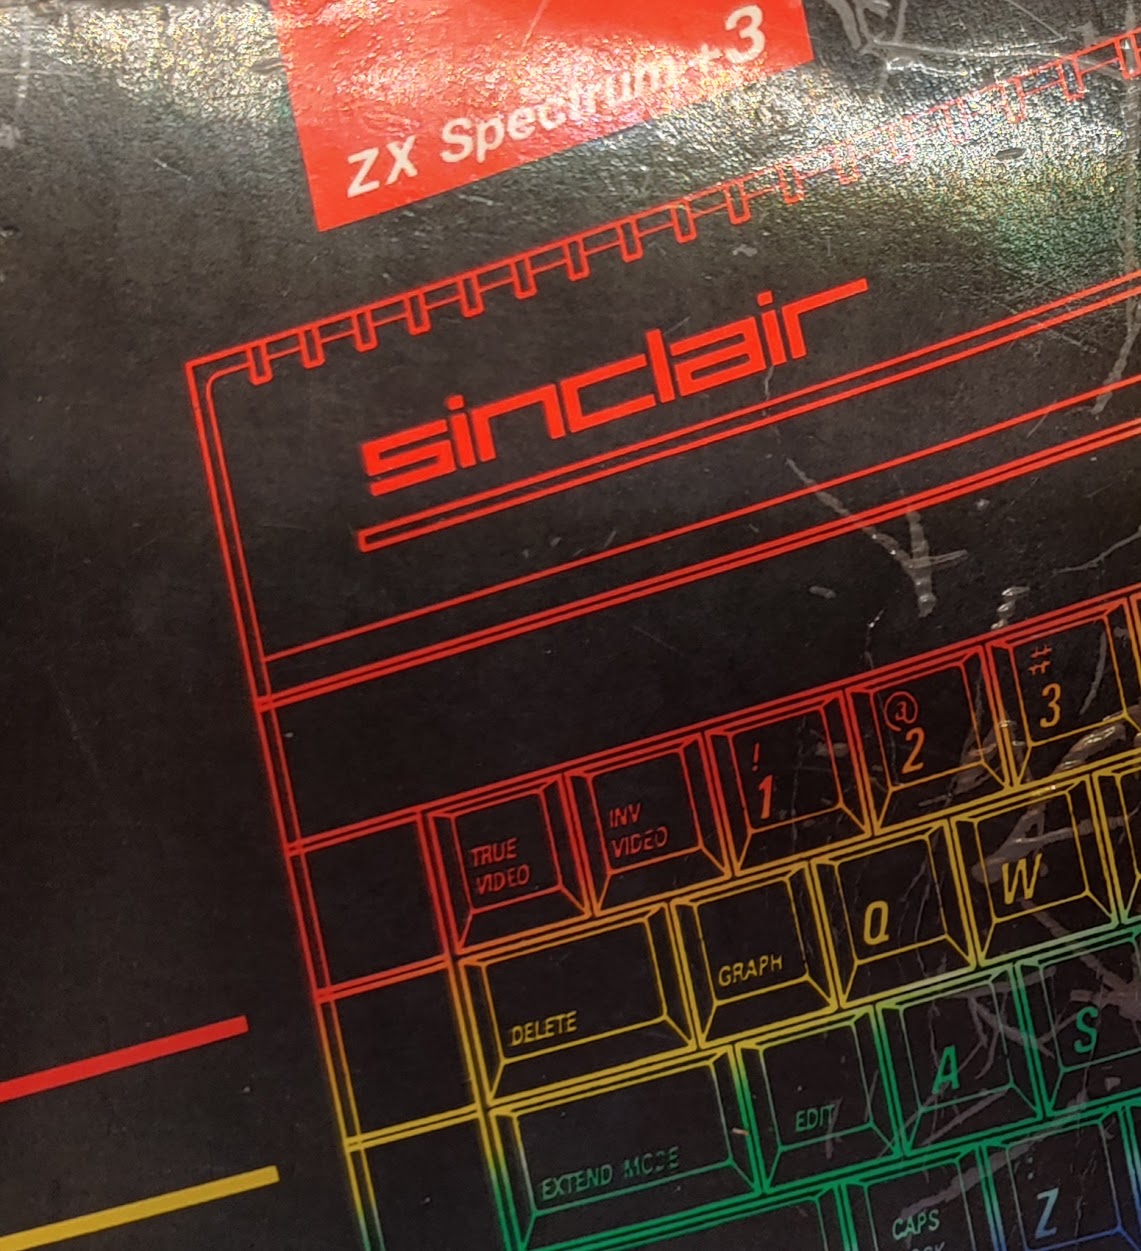
Notes from my Spectrum +3 manual
I've recently been working on a full HTML5 conversion of the Sinclair Spectrum +3 manual with full canvas-drawn screenshots and diagrams for smooth scaling/high res displays as well as some close font matching and layout as well as cross-reference links all over the place.
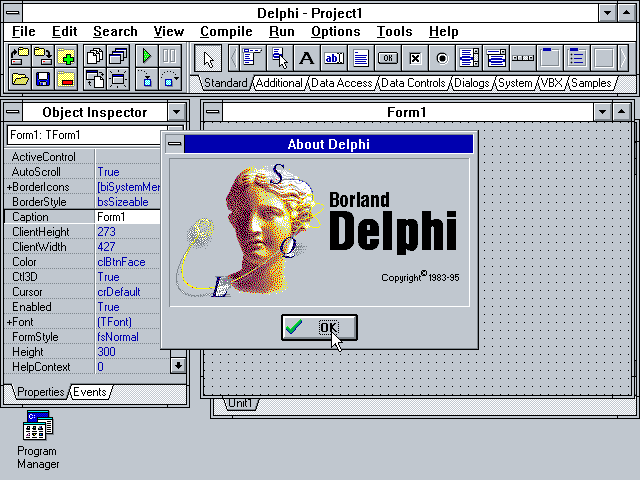
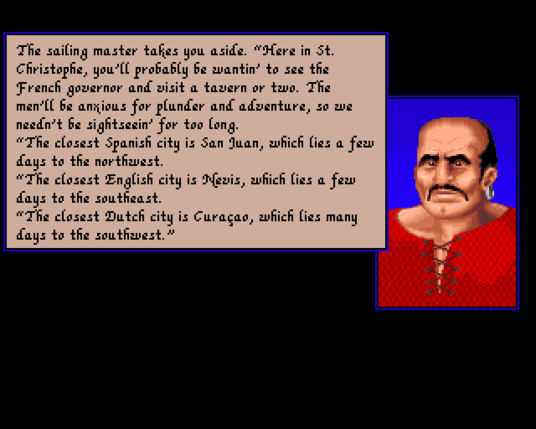
My own Delphi story - celebrating 25 years
It's 1995, and a wiry-looking engineer in need of a haircut is working at a tech services company in the Channel Islands. The island is Jersey (you can see the French coastline on a clear day), and he's over here for a week or two for training from his nearby Guernsey home.
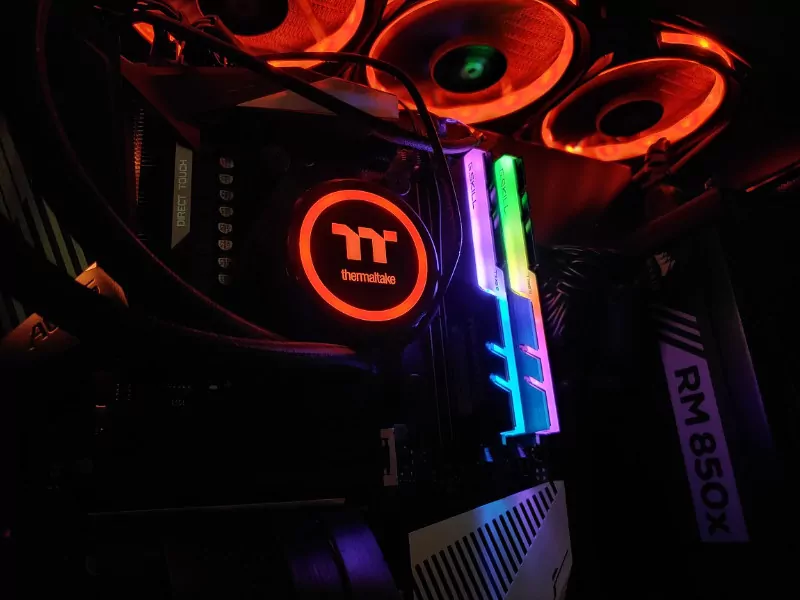
DDR4 memory information in Linux
Guide to reading DDR4 SPD memory information on Linux using the ee1004 driver — the older eeprom driver doesn't work on DDR4's flash-based SPD chips — to inspect timings, manufacturer, and die details.
SemVer is an intent - not a promise
Why semantic versioning can never truly guarantee non-breaking changes, with concrete examples of how a 'safe' addition can still break consumers, and an argument for treating SemVer as an aspirational intent rather than a contract.
ZX Origins - free 8-bit fonts for games
I started designing fonts around 1987 on an 8-bit Sinclair ZX Spectrum. Many years later, my involvement in the Spectrum emulation scene led aul Dunn to ask me if I could provide fonts for his excellent BASIN Sinclair BASIC for Windows. My interest in 8x8 fonts was suitably rekindled, and I ended up delivering about 60 - some even extracted from my original +3 disk images.
WordPress to Jekyll part 6 - A faster build
My site goes back to 2004 and is reasonably sized but not massive even with the comments, so waiting 30 seconds for a change to reflect is disappointing.
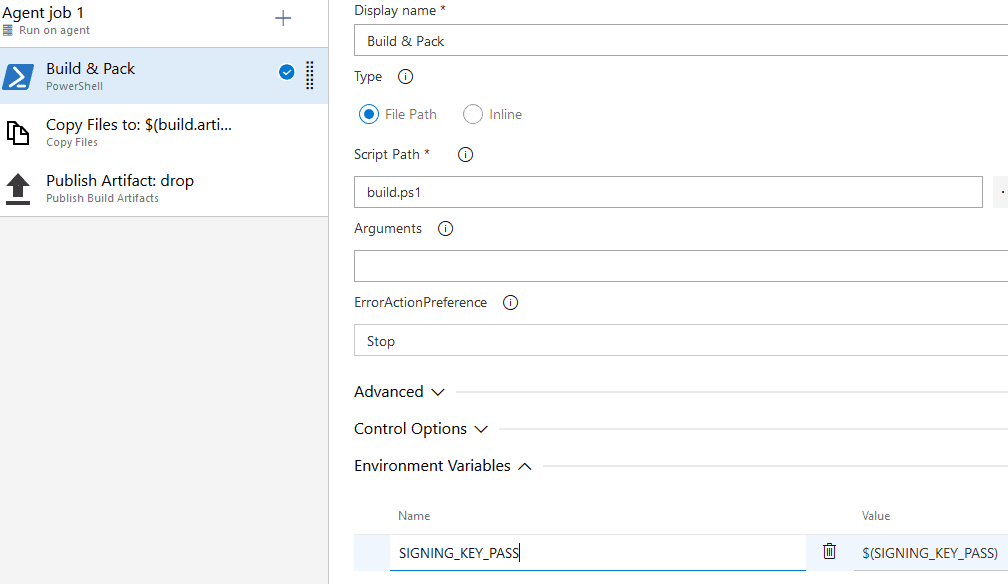
Azure Pipeline Build Variables
Azure Pipelines has been interesting to me especially given the generous free open source tier and seemingly instant availability of build agents. The setup is easy if you're building .NET targets with lots of useful starters available.
Terms of Use
Damien Guard ("us", "we", or "our") operates the https://damieng.com website (the "Service").
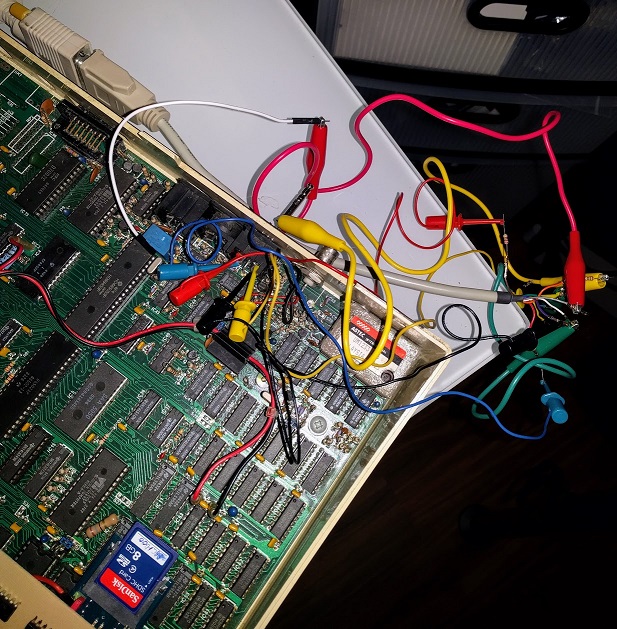
Revisiting my BBC Micro - display, speech & more
Recent upgrades to my BBC Micro including a Commodore 1942 multi-sync CRT for proper RGB, speech-chip restoration, and other modifications made since the earlier revitalising post.